Monday, October 14, 2019

October Meeting Recap

At our October meeting we started off with a few important announcements.

  QuiltCon 2020
 -Member priced registration for workshops closes on November 30th.
 - Quilt submissions close on November 30th.

 We are working on our QuiltCon charity quilt. At the meeting members picked up fabric pack to make blocks for the charity quilt. Completed blocks can be dropped off at the November meeting or at the December sew day. We will assemble the quilt top at the December sew day! If you have questions or need help with the blocks please let us know.

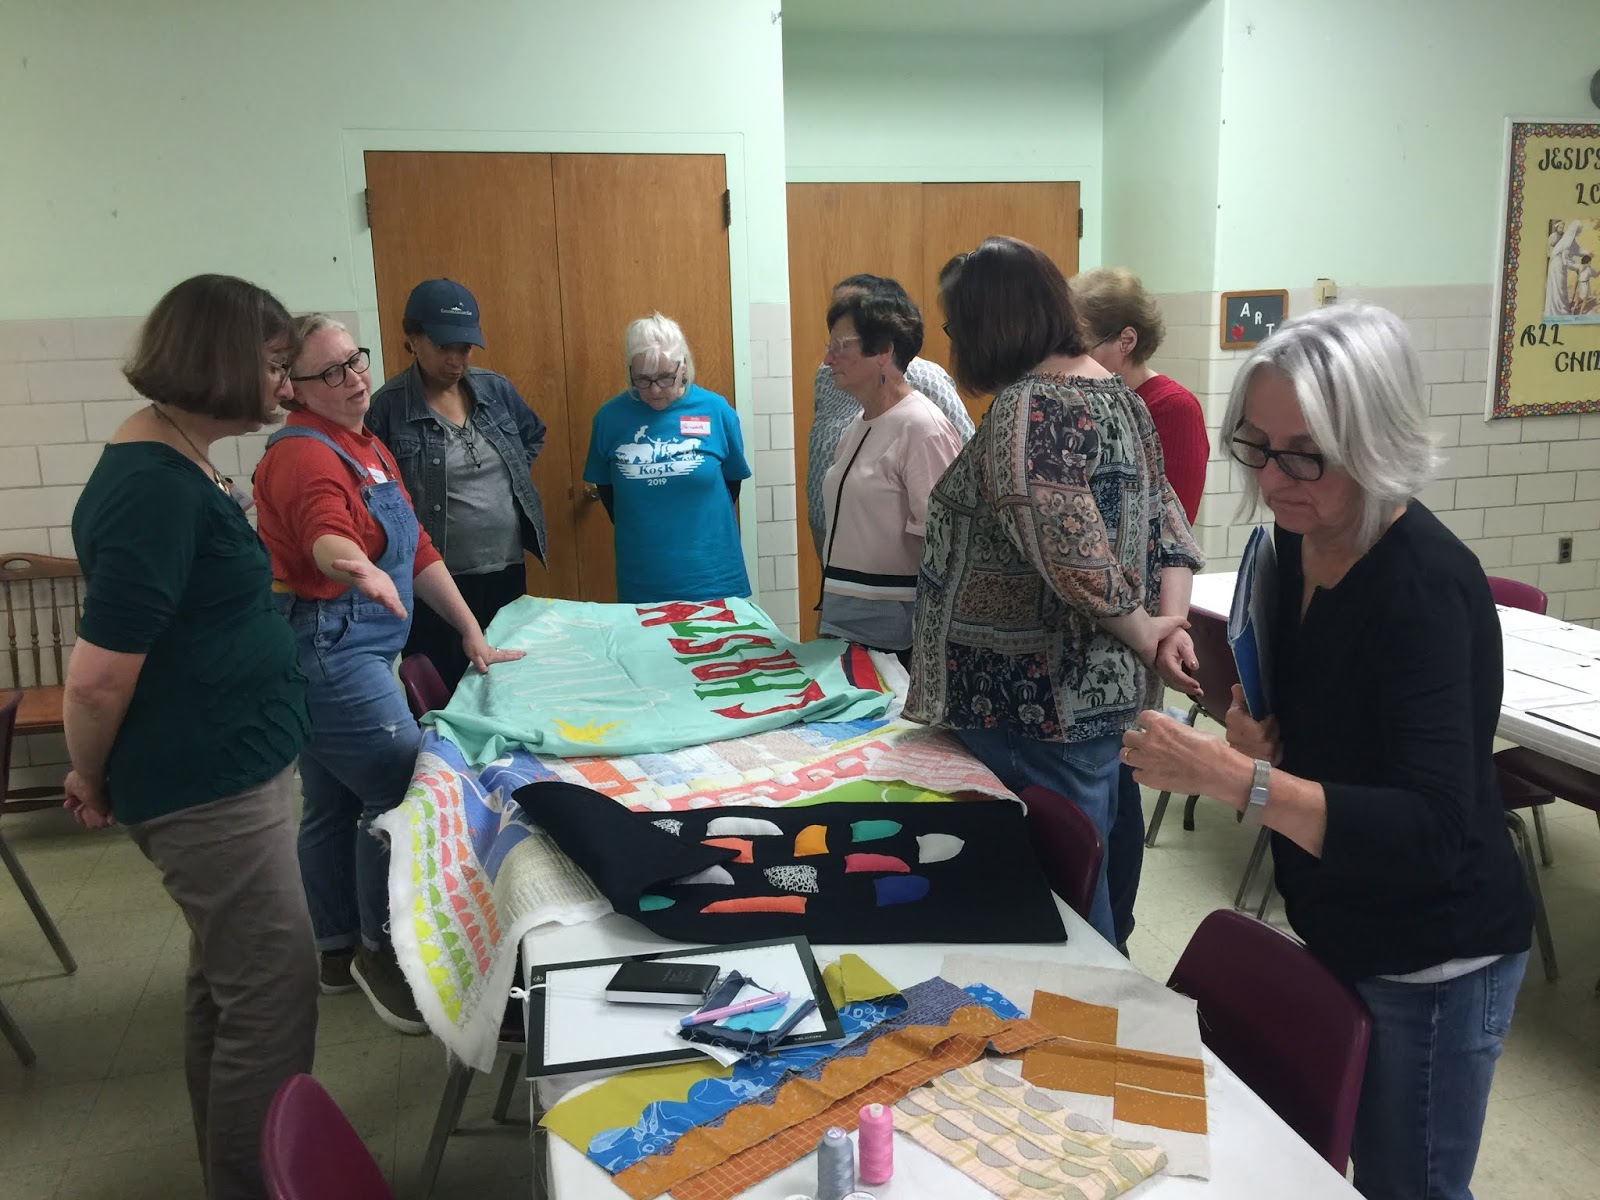
  Our Making Faces Workshop  was a big success. Our members learned a new technique and created some fun faces.


  2020 Leadership Nominations
  Nominations can be made at the October, November and December meetings. Elections are held at the January meeting. Check your email for position details and responsibilities. Nominations can be submitted to Pam Morris via email.


We will send out a program survey for 2020. Stay tuned for more info.

Show and Tell 


We had a great workshop on handwork. Our fabulous presenters were: Julie, Amanda and B.

EPP (English Paper Piecing) by Julie: we learned how to glue baste, what kind of needle and thread to use while sewing. And Julie gave us tips on how to hold shapes together for best stitching.


Needle turn applique by Amanda: she explained the basic technique of needle turn applique. Showed us her work. Recommended needles and super fine thread to work with.


Hand embroidery by B. B taught us basic stitches and how to make a French knot. We worked with wool pieces and different colored embroidery thread.


Great workshop to support our last guild quilt challenge for the year: Handwork . Create a quilt using some kind of hand work, due by the December meeting. Hand stitched binding doesn't count! Participants will receive a ticket for our prize drawing. The prize is a spot at our May 2020 retreat.

Our next meeting is Sunday, November 3rd 1pm-4pm. We will meet in Millvale at the Holy Spirit Cafeteria.
Topic will be: Applying to a quilt show and prepping quilts for a quilt show.

We hope to see you there.

Follow us on social media
IG @pghmqg
FB Pittsburgh Modern Quilt Guild


Sunday, October 6, 2019

Tutorial for QuiltCon 2020 Charity Quilt Blocks

We are really excited to create another charity quilt for QuiltCon! Please use the following tutorial to aid you in piecing your block(s).
Finished blocks can be turned in at the meeting on November 3 or the December sew day on December 7. We are assembling the quilt top at the sew day. If you can not attend the November or December dates, please mail your blocks to B:
B Cain
PO Box 1115
Wexford, PA 15090

General notes:
  • Patterns were drafted for traditional piecing. If you are a confident English paper piecer or foundation paper piecer, feel free to use one of those methods. Remember to reverse the pattern for either of these methods!
  • Piece blocks in numeric order. Some blocks must be pieced in alpha numeric order and then those pieced sections are joined together.
  • If you find yourself short on fabric or in over your head, don't stress! Bring what you have completed to the sew day and we will sort it out!
  • Please return any scraps that are 3" square or larger.
  • If you believe there is an error with your pattern, please contact B: 412-551-9590
Below you will find instructions for piecing a block with curves and a block with straight piecing.

Blocks with straight seams:
Gather your fabric and pattern.

Carefully cut apart the pattern pieces. Put aside the block label, finished block diagram, and instructions.

Lay out all light pieces on the light fabric and dark pieces on the dark fabric before cutting to ensure you don't run out of fabric! Remember that all pieces need a 1/4" seam allowance added on, so pieces must be spaced at least 1/2" apart. Pattern pieces should be RIGHT SIDE UP on top of fabric, which is also RIGHT SIDE UP.

Use a loop of tape to secure the paper pattern pieces in place on the fabric.

Cut around all pattern pieces, ADDING A 1/4" ON ALL SIDES. 

Piece the block together following the numerical order of the pieces (i.e. begin by piecing #1 to #2, next add piece #3, etc.). Some blocks must be pieced in alpha numeric order (i.e. piece the A section in numeric order, piece the B section in numeric order, etc. Then the pieced A and B sections can be joined together).
When piecing, fabrics should be placed right sides together. Remove the pattern pieces as you go so that you remember which is the right side!

Press seams towards the dark fabric as you go. This is very important and will help us when piecing the whole top together!
Check that your block is 6 1/2" square and looks like the finished diagram.

Stay stitch around the block approximately 1/8" from the raw edges.
Pin the block label to the block.


Blocks with curved seams:
Gather your fabric and pattern.

Carefully cut apart the pattern pieces. Put aside the block label, finished block diagram, and instructions.

Lay out all light pieces on the light fabric and dark pieces on the dark fabric. Remember that all pieces need a 1/4" seam allowance added on, so pieces must be spaced at least 1/2" apart. Pattern pieces should be RIGHT SIDE UP on top of fabric, which is also RIGHT SIDE UP.

Use a loop of tape to secure the paper pattern pieces in place on the fabric.

Cut around all pattern pieces, ADDING A 1/4" ON ALL SIDES.

Piece the block together following the numerical order of the pieces (i.e. begin by piecing #1 to #2, next add piece #3, etc.). Some blocks must be pieced in alpha numeric order (i.e. piece the A section in numeric order, piece the B section in numeric order, etc. Then the pieced A and B sections can be joined together).
When piecing, fabrics should be placed right sides together. Remove the pattern pieces as you go so that you remember which is the right side!

Press seams towards the dark fabric as you go. This is very important and will help us when piecing the whole top together!
Clip curves as needed.

Check that your block is 6 1/2" square and looks like the finished diagram.

Stay stitch around the block approximately 1/8" from the raw edges.
Pin the block label to the block.